
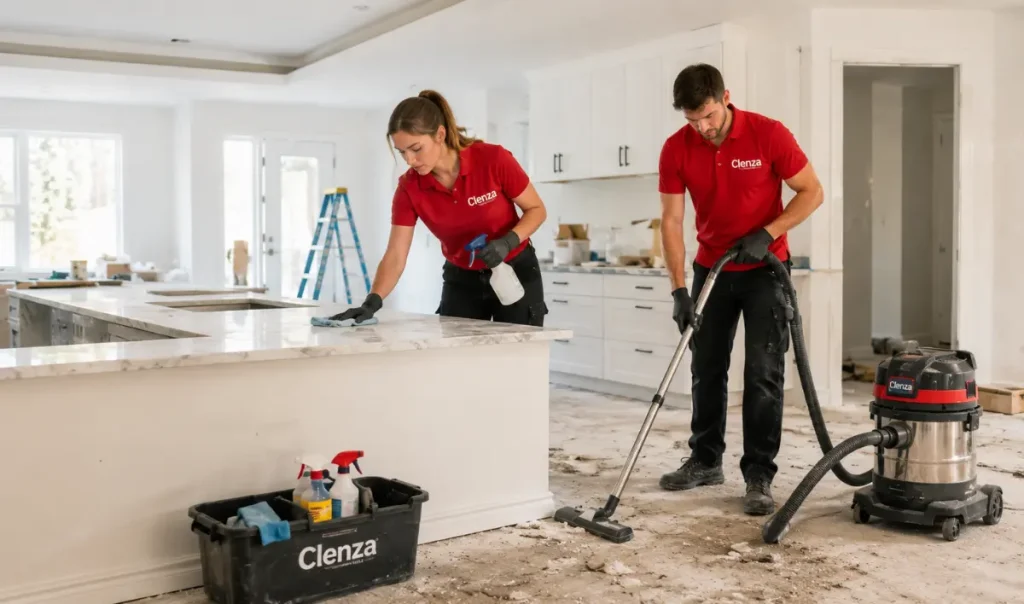
Moving into a newly built home comes with one unavoidable problem a fine layer of dust covering nearly every surface. It settles into corners, clings to windows, coats floors, and hides in places you would not expect, like light fixtures and air vents. Getting this right matters beyond appearance. It protects your indoor air quality, keeps new flooring and finishes from scratching, and makes the home genuinely livable from day one.
This guide breaks down the process room by room, using the same sequence of professional post construction cleaning crews rely on.
Why This Kind Of Cleanup Is Different
Everyday cleaning deals with food spills and surface grime. Post construction debris is a different category entirely. Builders leave behind drywall dust, sawdust, paint flecks, adhesive residue, caulk smears, and cut-off debris from tile or trim work. This dust is finer than normal household dust and works its way into HVAC systems, cabinet interiors, and closets.
Left untreated, it recirculates every time the heating or cooling system runs. That is why the job needs a specific order of operations rather than a quick wipe down.
Before You Start
Open windows if the weather allows to clear lingering fumes from paint and adhesives while you work. Wear a fine-particle mask, since this dust is harsher on the lungs than typical household dust. Gloves help too, since caulk and paint residue can irritate skin.
Ask your builder what has already been sealed or treated. Some flooring arrives pre-sealed and needs specific products; others should never touch certain chemicals. Get this confirmed before you touch wood or stone.
Supplies worth having on hand: a shop vacuum with a HEPA filter, microfiber cloths, a soft bristle broom, a mop suited to your flooring, a bucket, a pH neutral cleaner, glass cleaner, and a step ladder.
Clear the Dry Debris Before Anything Else
This is the rule that matters most. Wet-wiping a dusty surface before removing loose debris turns dust into paste, which streaks paint and grinds grit into flooring.
Work top to bottom. Start with ceiling corners, fixtures, fans, and molding using a dry microfiber cloth or extendable duster. Move to walls, then finish with floors last.
Use a HEPA shop vacuum on floors, sills, baseboards, and vents. A standard household vacuum lacks the suction and filtration for this and will just push particles back into the air. Vents and return grilles collect far more dust than people expect, so don’t skip them.
Walls
Dry dust walls first with a soft microfiber cloth or a dry sponge made for particle removal. This lifts loose material without smearing it.
Check the paint finish before adding any moisture. Flat or matte paint tolerates a barely damp cloth for light marks. Semi gloss or satin holds up to a mild soap and water mix. Test a hidden patch first, since fresh paint can be sensitive in its first few weeks.
Wipe gently rather than scrubbing, since pressure can leave sheen marks. Switch plates, door frames, and trim grooves tend to trap the most residue.
Floors, By Material
Floors take the heaviest hit, and treating every surface the same way is the fastest route to permanent damage.
Hardwood
Dry vacuum first with a soft attachment; a standard beater bar will scuff the finish. Follow with a microfiber mop lightly dampened with a hardwood-specific cleaner. Never soak the surface, since moisture seeps into seams. Work with the grain and dry wet spots immediately.
For laminate and LVP
sweep or dry vacuum to clear grit that would otherwise scratch the surface during mopping. Use a damp, not wet, mop with a cleaner formulated for these materials. Skip steam cleaners entirely, since heat and moisture warp seams.
Vinyl
More forgiving with moisture. Sweep or vacuum, then mop with warm water and a neutral cleaner. Avoid ammonia based products, which dull the finish over time.
Tile
The main issue here is grout haze, the cloudy film left after installation. Sweep and vacuum first. A warm water and vinegar mix breaks down haze on most tile, but natural stone needs a stone-safe cleaner instead, since vinegar etches marble and travertine. Scrub grout lines gently, rinse fully, and dry to prevent water spots.
Concrete
Sweep or vacuum thoroughly first, since concrete dust is unusually fine. Sealed concrete takes a neutral cleaner and mop. Unsealed concrete should avoid harsh chemicals entirely until sealed, as the surface absorbs stains easily.

Windows and Tracks
Remove protective film or stickers first, checking edges for leftover adhesive. Vacuum the tracks and sills before introducing any moisture, since dragging a wet cloth over gritty tracks causes scratching.
Clean the glass with a standard glass cleaner and a lint-free cloth or squeegee. Dried paint specks can be lifted with a plastic razor blade made for glass, though this should be avoided on tempered or coated glass unless you’ve confirmed it’s safe. Wipe frames and tracks with mild soap and water, then dry fully to prevent streaking.
Cabinets, Closets, and Storage
Dust works its way into cabinets and closets even when doors stay shut. Wipe interior shelving with a lightly damp cloth and dry immediately. Vacuum closet floors and drawer interiors before storing anything.
Fixtures and Vents
Cut power at the breaker before touching any light fixture. Dust dry first, then follow with a barely damp cloth if needed. Vents and return grilles need vacuuming and wiping as well, and it’s worth checking whether the HVAC filter needs replacing before move-in, since this stage of dust clogs filters fast.
Kitchen and Bathroom
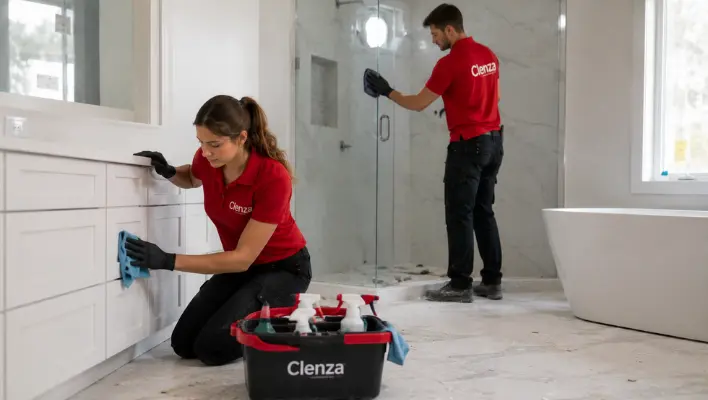
These rooms carry the most surface area and fixtures, so they need the most time. Clean cabinet exteriors and interiors, then treat countertops according to their material, quartz, granite, and laminate all behave differently. Disinfect sinks and check faucet aerators for trapped sediment, which reduces water flow if ignored. Deep bathroom cleaning of tile, grout, and glass follows the same approach used for floors and windows above.
Final Walkthrough
Before calling it done, walk the home once more. Confirm every floor has been treated according to its material. Check walls and trim for leftover streaks. Verify windows, sills, and tracks are clear. Dust fixtures, vents, and switch plates. Check inside cabinets and closets. Replace the HVAC filter if it’s due. Confirm kitchens and bathrooms are fully sanitized.

DIY or Hire It Out
This is realistic to handle yourself with the right tools and a full day set aside, though most people underestimate how much dust hides in vents, cabinet interiors, and fine gaps, which usually means a second pass is needed.
A professional crew saves time and catches what gets missed, especially on tight move-in timelines or larger homes. They also bring commercial HEPA equipment and know which products are safe for different surfaces, which matters since the wrong cleaner on natural stone or new hardwood can cause damage that costs more to fix than the cleaning itself.
If you’re in the Guelph, Ontario area, Clenza Home Cleaning handles this kind of post-construction cleanup start to finish, floors, walls, windows, cabinets, and everything covered above. More detail and booking at clenzahomecleaning.com.
Final Thoughts
A newly built home looks finished long before it actually is clean. Dust hidden in vents, cabinet interiors, and window tracks doesn’t disappear on its own, and skipping steps early just means redoing the work later. Whether you handle it yourself or bring in a professional crew, doing it properly sets the foundation for a healthier home from the day you move in.